5 Guitar Finger Exercises for Every Guitarist


Every guitarist works on finger strength and flexibility to play effortlessly, comfortably, and clean. Here are 5 guitar finger exercises to get you started.
If you want to be able to pick up the guitar and play freely, you need to ensure you’re consistently working on your finger fitness. Lucky for us, guitarists have been experimenting and inventing new guitar finger exercises for decades.
In this article, we’ve picked our five favorite finger exercises and explained how to do them in a way that is appropriate for both beginner and intermediate players.
Why are guitar finger exercises so important?
Muscles were made to move. In our society, we could go by days or even weeks at a time without moving much. From the bed to the car, to the desk, to the couch, to the bed again. We have to be conscious and active about keeping our bodies moving and in shape. The same goes for our technique and finger fitness in guitar playing.
The precision and fluidity of your finger movement is something that you could spend forever improving and refining, and this practice is a big part of becoming a pro player. This doesn’t mean you should get stuck practicing the same exercises for years at a time – but it means that you understand the “technique practice” mindset and continue to engage with it.
Guitar finger exercises 1: general hand motion.
Before you even pick up the guitar, it’s good to do simple exercises using only your hands. These get the blood flowing, release tension and create more space between the muscles and bones.
- Bring your hands up to the height of your mouth. Turn your hands so the palms face outwards and the backs touch. Then, cross your fingers over one another. Bring the palms back towards each other as your elbows move away from your body and downwards. This should close the hands. Your thumbs should be closest to your face and cross over each other like swords. Then start rotating your hands so that your wrists move in a full circle. Do this between eight and thirteen times in each direction.
- Sit on the floor. Place your palms on the floor by your sides, fingers facing forward. Let all the weight sink into your hands, and then push into the floor until your sitting bones and torso is raised. Leave the feet on the floor. Rotate your hips in circles to the right and the left, between eight and thirteen times each way. Repeat this exercise with your hands facing the other direction on the floor.
- Nothing is quite as fun as a finger massage! Take each finger and press firmly on either side, from the nail to the root of the finger. Press on each knuckle and also the bones in between them. This releases a different kind of tension from the fingers, allowing the energy in them to flow smoothly.
Guitar finger exercises 2: two fingers.
Once your hands are warm and ready, it’s time to pick up the guitar. But let’s start with a simple exercise that only uses two fingers. You can do this exercise using your first two fingers, the second and third fingers, and the third and your pinky fingers. You can practice it on the guitar neck, but we will focus on the first and second frets.
- Start by playing the first fret of the sixth string with your first finger and the second fret of the sixth string with your second finger. Use this pattern as you ascend on all the strings until you reach the high E string.
- Once you do, it’s time to descend. Start the descending pattern by playing the first fret of the second string with your first finger and the second fret of the second string with your second finger. Follow this pattern to descend to the sixth string.
- After completing ascending and descending patterns on the first two frets, repeat this exercise on the second and third frets using your second and third fingers.
- Piece of cake? Do it again using your third and pinky fingers, with the same pattern, but this time on the third and fourth frets.

Guitar finger exercises 3: 1-2-3-4 pattern.
This is a level up from the two-finger exercise. Not only does it require four fingers, but it also makes you refine your left-right hand synchronization. Use this exercise to improve coordination, stretch your fingers, and start roaming freely around the fretboard. You should check out a video if you’re a more visual learner, but in short, you will be moving up the string and the fretboard, playing chromatic notes with four fingers on the fretboard in your left hand while picking with an alternating down/upstroke in your right hand. This is how you do it step by step:
- Start by putting your first finger on the high E-string on the 1st fret. In your right hand, you pick the string with a down stroke.
- Remain on the high E string, but now place your second finger on the second fret and, using your right hand, pick an upstroke.
- Next, you’ll use your third finger on the third fret with a downstroke on the high E string.
- Finally, use the pinky or fourth finger on the fourth fret and do an upstroke.
- Repeat this pattern on every string as you climb up the fretboard. Once you get the hang of it, you can begin to move through the exercise faster.
Make sure to breathe steadily to release any tension in the body. Keep the wrist relaxed, and don’t overstretch the fingers. You’ve got nothing to prove. There’s no need to hasten the pace of development.

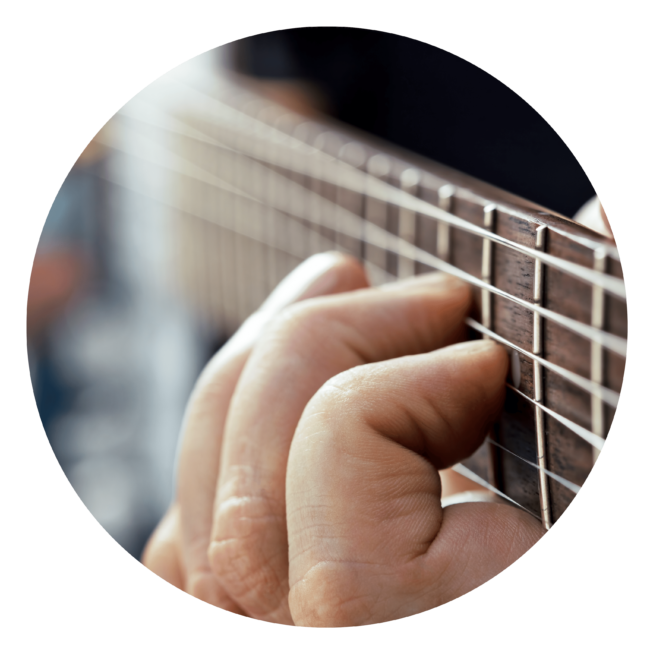
Guitar finger exercises 4: barring.
You’ve probably heard about barre chords if you’ve started playing guitar. Barring is an element of guitar technique that takes quite a bit to master and develop. The motion of pressing the side of the finger down firmly into the steel or nylon strings across multiple frets feels foreign and unintuitive in the beginning. “Why should I inflict such pain upon myself?” you’re probably asking. We’ve all been there. The body is incredibly adaptable, and you will get used to the sensation. In time there’s even something pleasant about it, like a particular sort of massage. Here are some barring exercises and tips to help you build this discipline slowly:
- Start by gently pressing the finger across the strings on a certain fret. Just enough to feel the strings against them.
- Slowly add a little bit of pressure – take a deep breath.
- Add a little more pressure, and keep breathing. Every time you push down harder, pick the strings with your right hand to see if you’re pushing hard enough to create the desired pitch.
- The idea of this exercise is to discover the minimum amount of effort required in barre chords to create your intended pitch. If you start pressing down with full power, you will quickly fatigue and damage your fingers. The idea is to achieve maximum results with minimum effort. This is something to remember for all aspects of guitar playing.
- Take breaks as often as you need. You don’t want to push yourself into a corner where there is bruising or even bleeding in some extreme circumstances. Stay attentive to your body’s needs – no music is important enough to justify causing harm to yourself or others, and all good things take patience and perseverance.
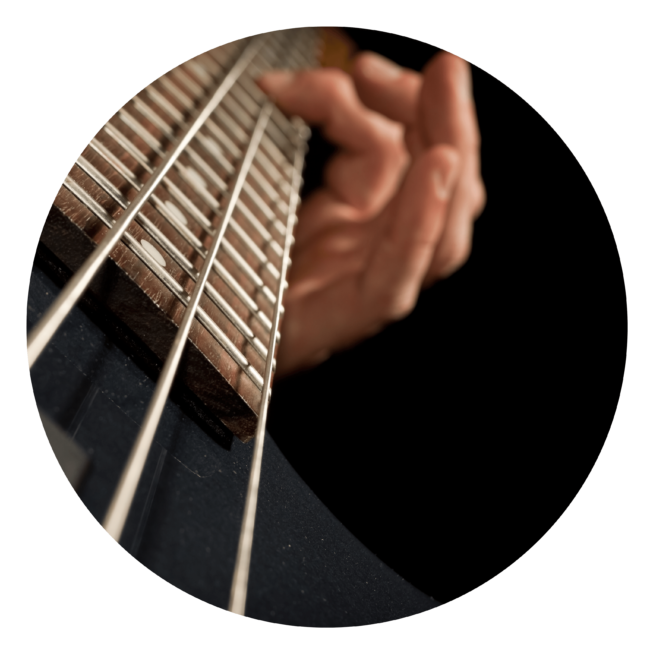
Guitar finger exercises 5: single string.
This exercise is notorious for being a tongue twister for fingers. The whole exercise takes place on one string and requires real agile, almost acrobatic movements from your fingers and wrist. This is how you do the single-string exercise:
- Start by playing the first fret with your first finger. Then instead of playing the second fret, play the third fret with your third finger. Now you must go back and play the second fret with your second finger, followed by the fourth fret with your pinky finger.
- For the second stage, you need to play the second fret with your first finger, then the fourth fret with the third finger, followed by the third fret with your second finger, and the fifth fret with your pinky finger.
- Get the pattern? You want to repeat it across the whole fretboard, all on the same string.
- You want to start this exercise from the first fret of the first string and gradually make your way to the 12th fret, from which you will descend back to the beginning.
- Repeat this same sequence on every string, ascending and descending. The exercise is designed to be confusing initially, so don’t be overwhelmed, work slowly. If you do, you will loosen up the whole structure of your hand and fingers, and it will come super naturally to you in time.
Fingers are friends!
Once you start playing guitar, your relationship with your fingers becomes deeper. They’re no longer just these skinny little things at the ends of your hands – they are pristine artistic tools that can create incredible beauty with perfect precision and delicacy. Start taking good care of your hands and fingers, keeping them hygienic and moving daily.
Once you know how to warm your fingers, put your nimble hands to good use alongside the Simply Guitar app. It’s the difference between learning to play guitar today and putting it off until who-knows-when.
FAQs.